There are several advantages to making your own applesauce. First, you know what's in in. It's just apples, no added preservatives, no added coloring, etc... Another advantage is that you can make it how your family likes it, smooth, chunky, sweetened, unsweetened, etc...
This year Duchess T and I decided to make mostly unsweetened smooth applesauce and some unsweetened chunky applesauce. Our thought process was, we can add sugar and cinnamon as needed when we eat it. And applesauce isn't just for eating straight out of the jar, we can also bake with it, and we didn't want the added seasoning to mess with our recipes.
To start, we bought three bushels of apples from a local farm. In this case, the farm just called these "Applesauce Apples." But you can use Macintosh, Johnathan, Johnagold or any other apple that is good for baking. To save money, ask your local farm if they have any seconds. These are the imperfect apples that may have fallen off the tree or may have some blemishes on them. Apples don't have to be perfect for applesauce since you are just going to squish them up anyway.

Below are the steps to making applesauce.
Step 1: As I've mentioned in previous canning posts, get comfy, wear comfortable clothes that you don't mind getting messy. Making this much applesauce is an all day process. Also, don't forget to put on some good music.
Step 2: Just before you start the canning process, place all of your jars in the dishwasher and wash them on the "hot" setting. You need to use warm jars when the applesauce is ready to can to avoid having to do a water bath. And since it's good to wash the jars first anyway, you can kill two birds with one stone.

Step 3: Place the apples in the sink and fill the sink with water to rinse them.

Step 4: Slice the apples.


Step 5: Place the apple slices in a pot. Add a small amount of water to the pot, about 1 cup. This will help prevent scorching. Apples burn easy so you will want to keep an eye on the pot and stir every few minutes.
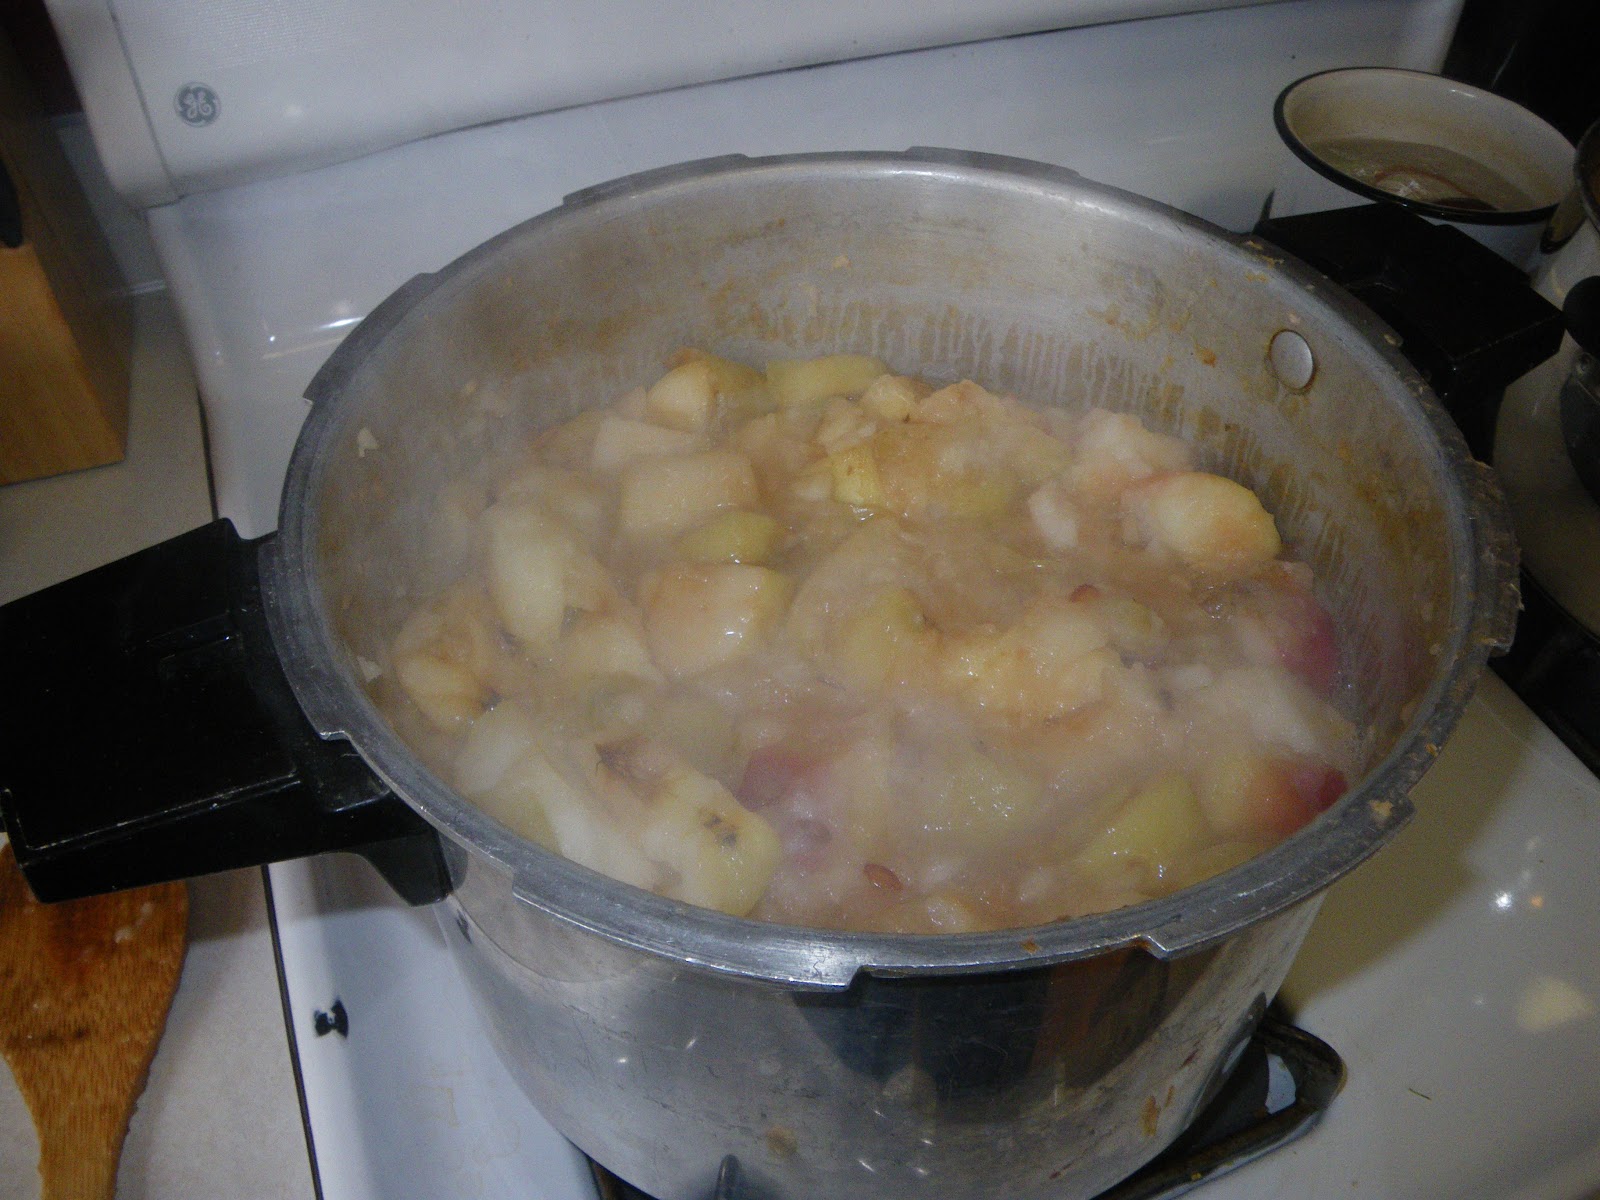
Step 5: Once the apples have cooked down, it will look very saucy. For chunky applesauce you will just start the canning process, see Step 8. For smooth applesauce, you will scoop the cooked apples into a rotary food press - I like to call it the squisher. You will then make the the apples into a sauce. The peels and seeds will remain in the press and the sauce will go into a bowl.

Step 6: Once you have made the sauce, place it back into a pot and put it back on the stove and bring it to a boil, stirring often to the applesauce doesn't scorch.

Step 7: At the same time you put the applesauce on the stove to boil, use a small pot to boil the lids for the jars.

Step 8: Once the applesauce has come to a boil, use a measuring cup and canning funnel to pour the juice into the jars. Make sure there isn't any applesauce on the rim of the jar. If there is, you will not get a good seal. Place the lid on the jar and screw on a ring.

Step 9: Once the jar is full of applesauce and the lids and rings are secure, place the jar on a table or counter upside down. Repeat Step 8. When the next jar is ready, flip the previous jar right side up. This will help in the sealing process. I forgot to take a photo of this step, if you are confused, see my tomato juice canning post.
Step 10: When the lids seal to the jars you will hear a little popping sound. It's the sound of success. It might happen right away or it could happen as much as a couple of hours later. If you don't hear a popping sound and if you can push the top of the lid in, it didn't seal.

It took Duchess T and I a full day and a couple of hours the next day to can 37 quarts and 11 pints of applesauce, but it is totally worth the work. Store bought applesauce just doesn't taste quite the same and homemade.
No comments:
Post a Comment