August 25, 2012

Adventures in Canning: Tomato Juice

My friend, Duchess T, had always wanted to try canning, but was always under the impressions that it was difficult and extremely time consuming.

Every year my mom and I take one afternoon and can enough tomato juice to last us a year. This year we invited Duchess T over to give it a try and to show her how easy it really is. 

Below is the result of our afternoon and step by step instructions

Step 1: Prepare. Wear comfy clothes that you don't mind if they get stained. Canning is messy. Be ready for a messy kitchen, it means your doing it right. If by the end of the day your kitchen is spotless, you did it wrong. And don't forget to put on some good tunes. Every project is more fun with some good music in the background.

Step 2: Buy tomatoes. We went to a local farm stand and bought seconds. Seconds are bruised, very ripe and not very petty tomatoes. Perfect for canning. We used 3 bushels of tomatoes (only one and a half bushels are shown).


Step 3: Wash the jars: Just before you start the canning process, place all of your jars in the dishwasher and wash them on the "hot" setting. You need to use warm jars when the juice is ready to can to avoid having to do a water bath. And since it's good to wash the jars first anyway, you can kill two birds with one stone.


Step 4: Cut tomatoes into pieces. Fill the sink with water and rinse the tomatoes. Don't worry about peeling them. Just cut out the core and any yucky spots. Then cut it up into chunks. It doesn't have to be pretty since you are just going to squish it up anyway.


Step 5: Cook the tomatoes: As you cut the tomatoes into chunks, put the chunks into a large pot. 


Step 6: Cook the tomatoes: When the pot is full, place it on the stove and cook the tomatoes. You do not need to add any water. As the tomatoes cook down and create the juice. When the juice is boiling, remove the pot from the stove.


Step 7: Squeeze the juice: When the tomatoes are all cooked down, use a cup to pour the juice into a rotary food press, I like to call it the squisher. Squeeze the juice into a bowl, you will likely need to use a couple of bowls. Princess B likes to help squeeze the juice.


Step 8: Bring the juice to a boil. Once all of the tomato juice has been squeezed out, pour the juice back into the pot and bring it to a boil, and don't forget to stir it here and there.


Step 9: Boil lids. At the same time you put the juice on the stove to boil, use a small pot to boil the lids for the jars.


Step 10: Pour juice into jars: Once the juice comes to a boil, stir it one last time, then use a cup and canning funnel to pour the juice into the jars. Make sure there isn't any juice on the rim of the jar. If there is, you will not get a good seal. Place the lid on the jar and screw on a ring.


Step 11: Flip the juice. Once the jar is full of juice and the lids and rings are secure, place the jar on a table or counter upside down. Repeat step 10. When the next jar is ready, flip the previous jar right side up. This will help in the sealing process. 


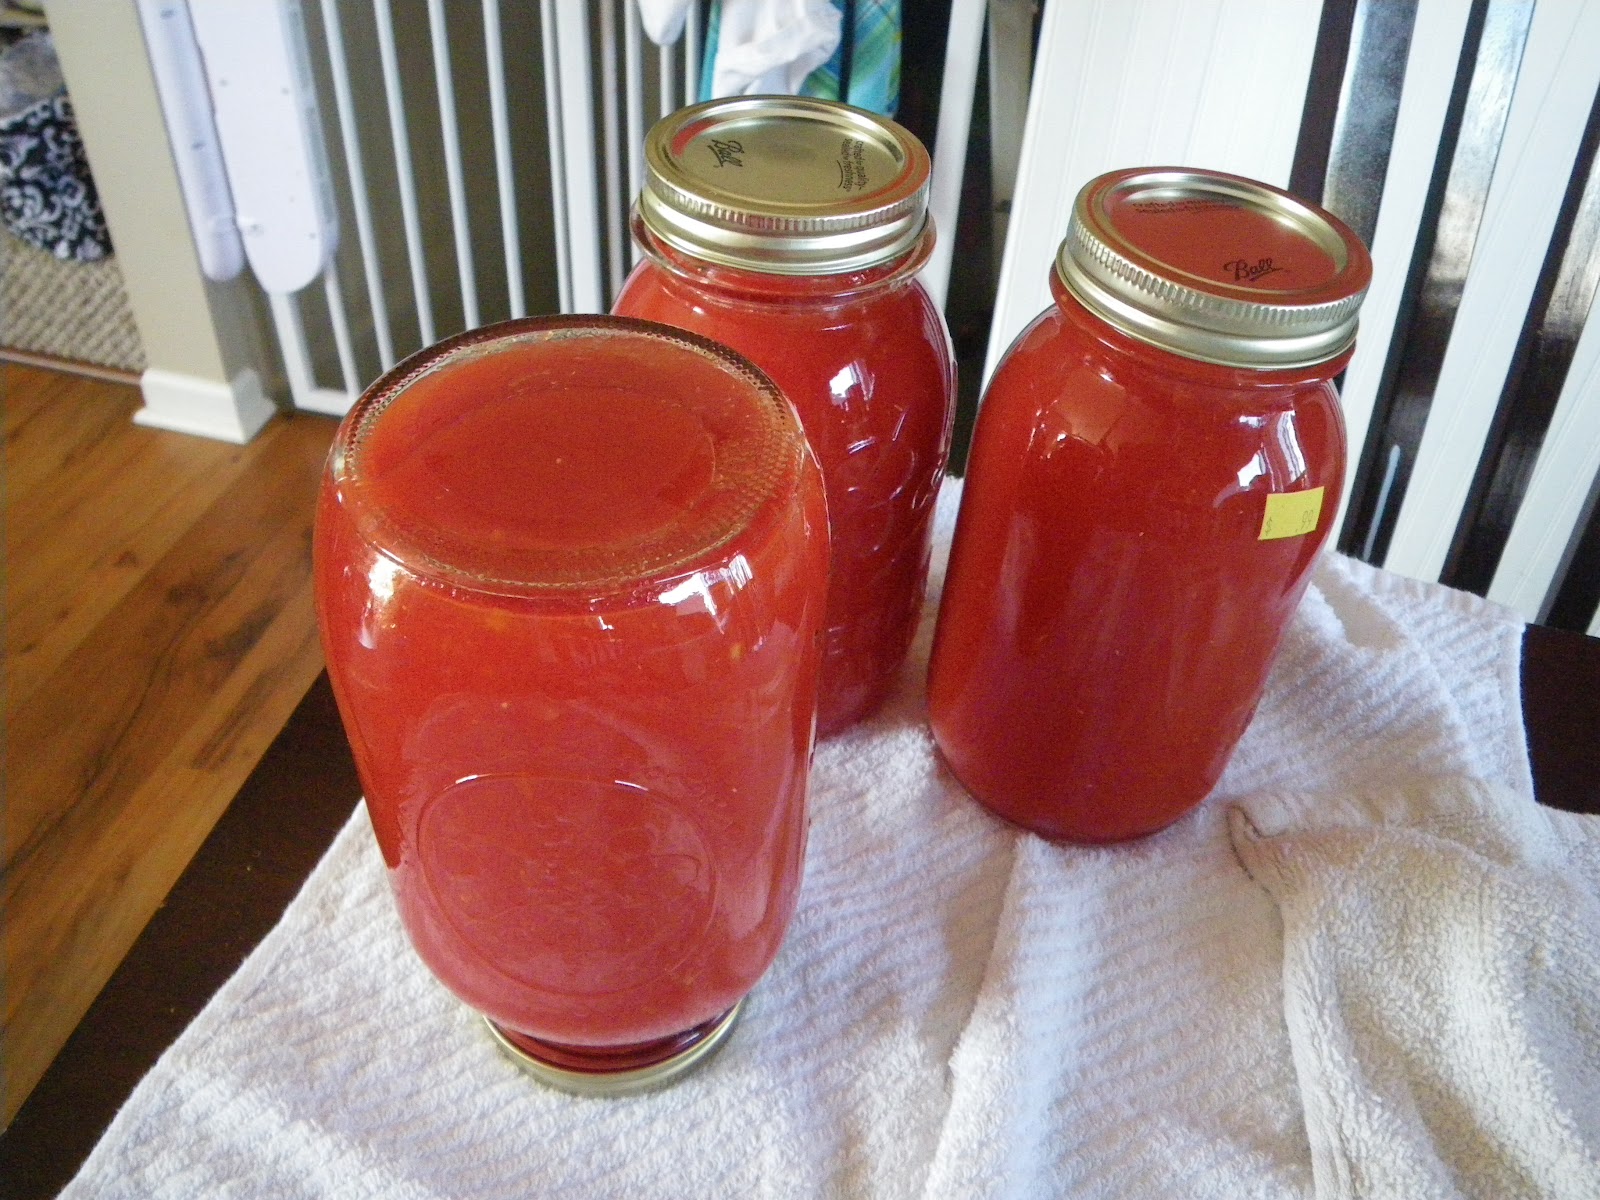
Step 12: The sound of success: When the lids seal to the jars you will hear a little popping sound. It's the sound of success. It might happen right away or it could happen as much as a couple of hours later. If you don't hear a popping sound and if you can push the top of the lid in, it didn't seal.


We canned three bushels of tomatoes in about six hours. In addition to tomato juice, we also canned stewed tomatoes. The three bushels made 40 jars (pints and quarts) of tomato juice and 34 jars (pints) of stewed tomatoes.

August 22, 2012

Caterpillar to Butterfly Craft

The easiest way to do crafts with kids are to tie them into a book. I like to start by choosing a book to read to the lords, ladies and princesses of my little castle. Today we chose to read "The Very Hungry Caterpillar" by Eric Carle. When we finished reading the book, we made our very own caterpillars that turned into butterflies. 


The materials we used for this craft are:
- Paper (for the butterfly wings)
- Pom Poms
- Clothes Pins
- Glue
- Crayons or Markers
- Scissors


The first thing Princess B and Lady A created were their caterpillars. To do this they glued pom poms to the clothes pins.


While their caterpillars dried, they cut out the wings for their butterfly. I used a cup to trace around to draw 4 circles, I then drew a wing shape around the circles with marker to show them where to cut.


Once the wings were cut out Princess B and Lady A decorated the wings with markers and crayons.

Princess B colored her wings, while Lady A made designs. Either option is perfectly acceptable and equally beautiful.


Once the wings were ready, take the caterpillar and clip it to the wings to create a beautiful butterfly.


This book and themed craft project took about 5 minutes to prep and kept the girls busy for about a half hour. This project also helped them with their dexterity and hand strength by squeezing the glue onto the pom pom, sticking the pom pom to the clothes pin, cutting with scissors, coloring with markers and squeezing the clothes pin onto the paper. 

August 1, 2012

Olympic Games Kid Style

What can I say, I love the Summer Olympics. I always forget how much I love them until they start. But after about the first ten seconds of the opening ceremony I am hooked, completely glued to the television, the rest of the world disappears. But now that I have two little princesses, and a couple of lords and ladies at my house being glued isn't really reality anymore. But just because I can't watch the games 24/7 doesn't mean that I have to miss them. Several other mom's in my kingdom and I decided to create our own Olympic games.

Every Olympic games needs to start with an Opening Ceremony and Torch Relay. We had all of the kids create their own flags and torches. 


The flags were made out of construction paper, stick on foam shapes, paint, markers, crayons and the stick was made out of a pipe cleaner.


 The torches were made out of construction paper that we glued orange, red and yellow tissue paper to. We then rolled the construction paper into a tube and stapled it together. 

After our Opening Ceremony we "let the games begin" and had different events at each neighbor's house. Event's included:

Racing - for the racing events one of the older neighbor boys created a track in his backyard and organized different heats based on age. Another racing event we did at another neighbor's house was good old fashioned sack racing.


Other events included Fencing, or in our case Bunny Fencing. Bunny fencing is where you use a fencing helmet, tape some balloon to the top, and try to pop the balloons on your opponent's head. 


To tie in gymnastics one neighbor created an obstacle course that included balancing, jumping on the trampoline, and sliding down a slide to stick the landing.


No Olympic games are complete without swimming being represented. For swimming we had a water balloon toss. 


Unlike the real Olympics, everyone at these games wins a metal.


The metal was made using card stock that was cut into circles with a hole punched at the top to run ribbon through and the Olympic rings were drawn on using blue, green, red, black and yellow markers.

I think the kids and the adults had an equally good time. This was an inexpensive day long activity that really introduced the Olympics to the little ones. In the words of Princess B, "this was the bestest day ever"